Windows
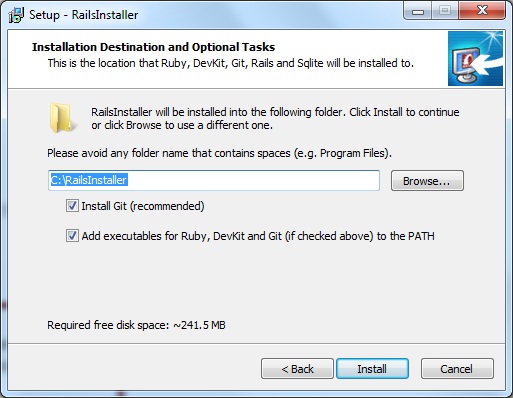
Step 1: Run RailsInstaller
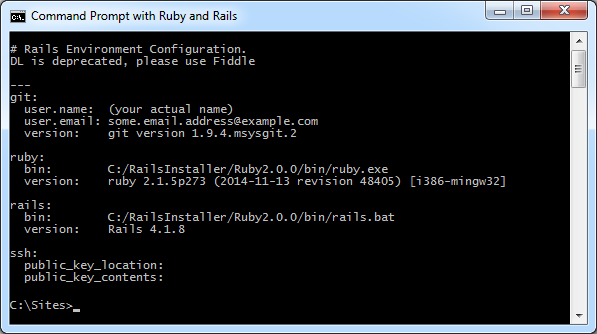
Step 2: Configure your git and ssh environment
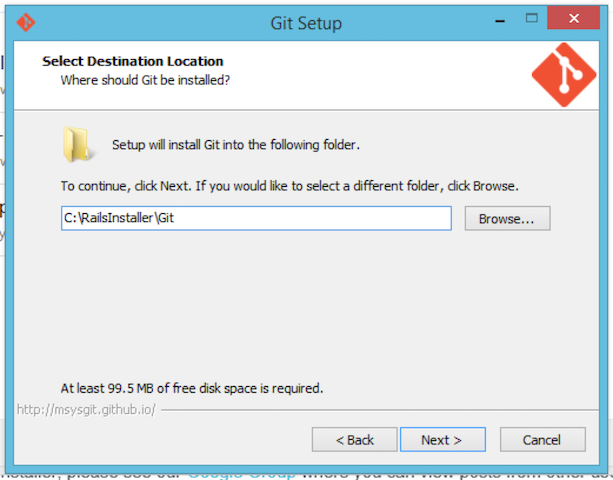
Step 3: Update Git
Step 4: Open a Terminal
Windows 7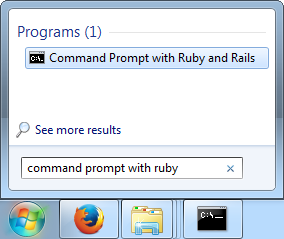 Windows 8
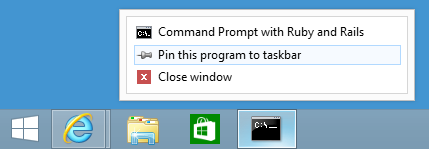
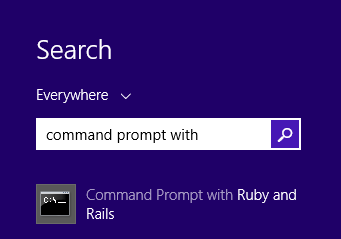
Step 5: Update RubyGems
Step 5.1: Check to see if you need to update
Type this in the terminal:gem -vStep 5.2: Install the latest version of RubyGems
gem update --system --no-documentgem -vApproximate expected result:2.6.9The greyed-out text may differ and is not important.
Step 6: Install Node.js
Type this in the terminal:node -vApproximate expected result:v6.x.xThe greyed-out text may differ and is not important.
Step 7: Update Rails
Type this in the terminal:gem install rails --no-document
Step 8: Sanity Check
Type this in the terminal:ruby -vApproximate expected result:ruby 2.3.8.4The greyed-out text may differ and is not important.Type this in the terminal:rails -vApproximate expected result:Rails 5.0.xThe greyed-out text may differ and is not important.Type this in the terminal:git --versionApproximate expected result:git version 2.9.2.windows.1The greyed-out text may differ and is not important.
Step 9: Configure the Windows Terminal
Step 10: Install a Text Editor
Next Step:
Go on to Create A Heroku Account