Add More Elements
Goals
Fill in more content
Add an image tag
Use two different kinds of anchor tags
Now we'll switch from simple steps to doing challenges. There will still be something to do at each step, but it will take some figuring out to do correctly. If you get stuck, ask a volunteer for hints. You will:
Pasos
Step 1
Challenge: The index.html page you downloaded is a simple profile page. Do a quick read through of the HTML and see if you can guess from the context what any unfamiliar tags might do.
Take 5 or 10 minutes to replace some of the existing text with some info about yourself. You don't have to write a novella, but filling in some tags is a good way to get oriented in the file. Then, save the page and refresh the browser.
Step 2
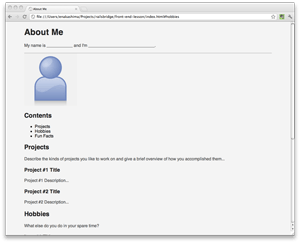
Challenge: Add an image tag to the page, right above the word 'Contents'. There's a sample image in the resources folder that you can use called 'picture.jpg', but if you want to personalize your page, copy a picture of yourself into the resources folder and add that to the page instead.
Hints: images are usually included with an
imgtag; the tag'ssrcattribute provides the path to the file.When you're done, you'll have something like this:
Don't forget that, because it doesn't wrap text content, the
imgtag is self-closing, meaning it doesn't need an ending tag. You don't need to write</img>.Step 3
Challenge: Add two kinds of anchor links.
Links in html are created by the
atag. Add anatag somewhere in the document that creates a link to another page on the web.If you're not sure what attributes an
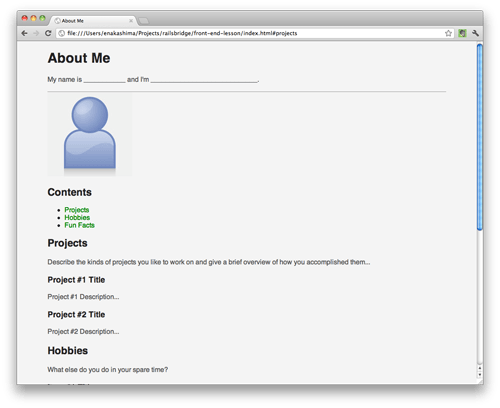
atag can have, see if you can look it up on MDN.You can also make links that stay on the current page and just point to another block of content. Instead of linking to a url, they'll link to the id of an element you want to jump to, with an attribute like
href='#id-name'See if you can turn the list items under the word 'Contents' into links that jump down the page to the relevant content. They'll look like this:
Explicación
Now that you know the basics of working with HTML, the trickiest part is remembering what tags are available. Here are some good sites you can use for reference:
Optional Step: Deploying to GitHub again
Before the next step, you could try deploying your page to GitHub!
- If you have already deployed to GitHub, go on to Deploying to GitHub again.
- If this is your first time deploying, start at Deploying to GitHub
Next Step:
Go on to Make Columns

